Introduction
Installing the Airthings Wave Plus radon detector correctly is the single most important factor in obtaining reliable indoor air quality readings. This guide covers every step from unboxing to optimal placement, ensuring your device measures radon, CO2, humidity, temperature, and VOCs with laboratory-grade accuracy. Whether you live in a basement suite or a multi-story home, proper setup avoids common pitfalls that lead to false low or fluctuating radon levels.
Where Should You Place the Airthings Wave Plus for Best Radon Detection?
Radon gas accumulates differently throughout a home, so placement determines data reliability. The Airthings Wave Plus must be installed in the lowest livable area of the home, ideally in a basement or ground-floor room used at least eight hours per day. Avoid bathrooms, laundry rooms, kitchens (high humidity skews VOCs), and areas near windows, doors, or exterior vents. The sensor requires a minimum of 20 cm (8 inches) clearance from walls and furnishings to allow air circulation around its passive diffusion chamber. For homes with crawl spaces, mount the device on the main floor directly above the crawlspace access.
Do not place the unit on a shelf above a radiator or inside a cabinet—confined spaces trap radon and produce artificially high readings. The Airthings Wave Plus uses a passive radon sensor that measures alpha particle emissions, so it needs stable air flow. For attached garages, maintain a separate monitor if the garage is below living quarters. If you have a finished basement used as a bedroom, this is the ideal location. Check local building codes; in the UK, the Radon Action Level is 100 Bq/m³, and the Wave Plus displays real-time averages.
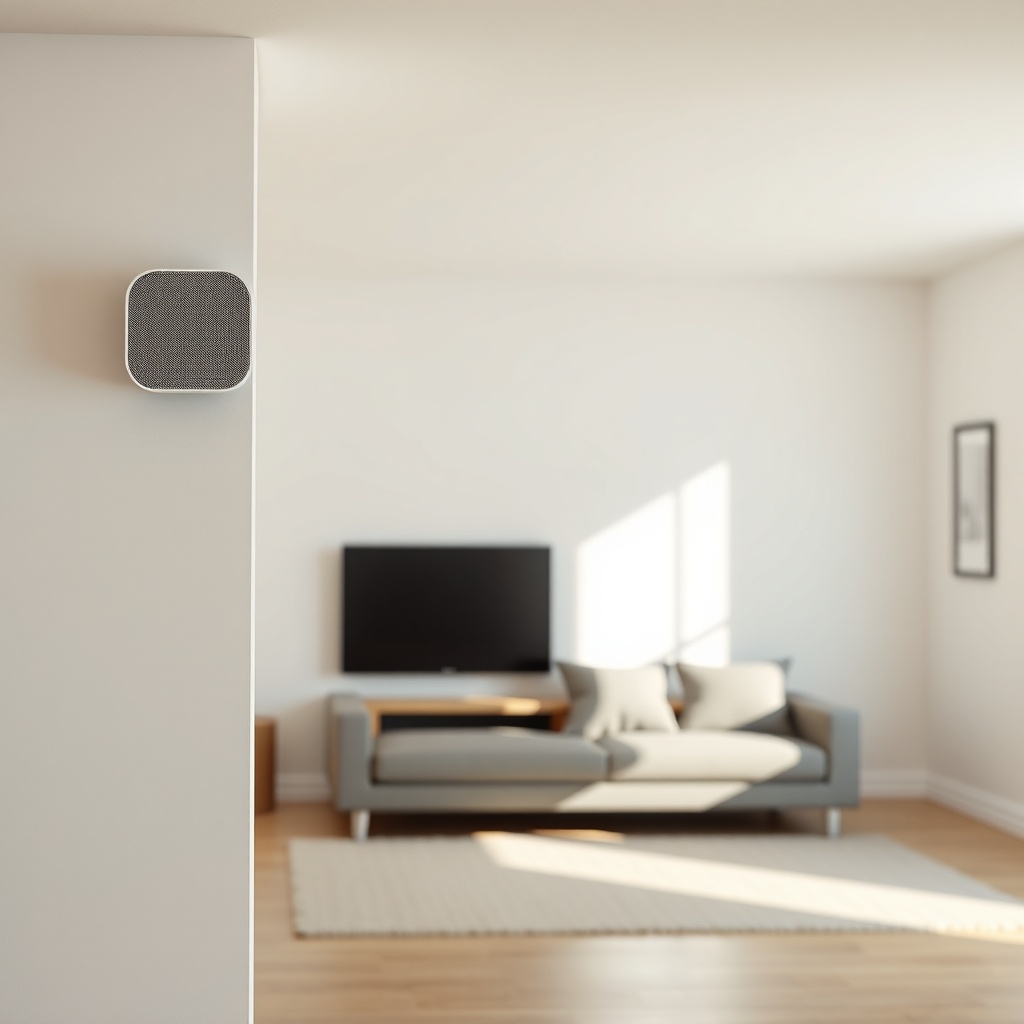
How to Install the Airthings Wave Plus: Step-by-Step Process
The Airthings Wave Plus arrives pre-calibrated from the factory, but you must complete initial setup through the Airthings app. Insert two AA batteries (included) into the back compartment. The device will flash a green LED once powered. Download the free Airthings Wave app from the iOS App Store or Google Play, then create an account. Press the “Add Device” button and scan the QR code on the back of the monitor. The app will pair via Bluetooth—hold your smartphone within 10 cm (4 inches) during pairing. Once connected, name the device (e.g., “Basement Den”) and set your preferred units: metric (Bq/m³) for Europe/UK or pCi/L for the United States.
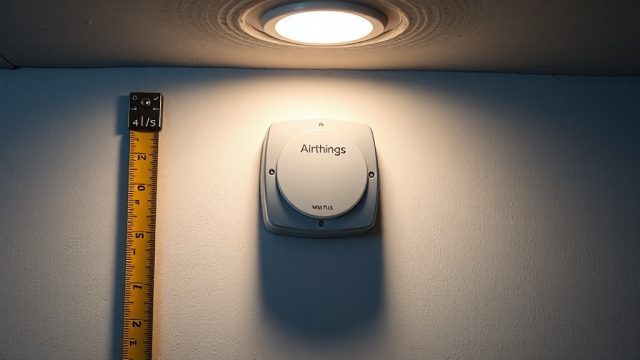
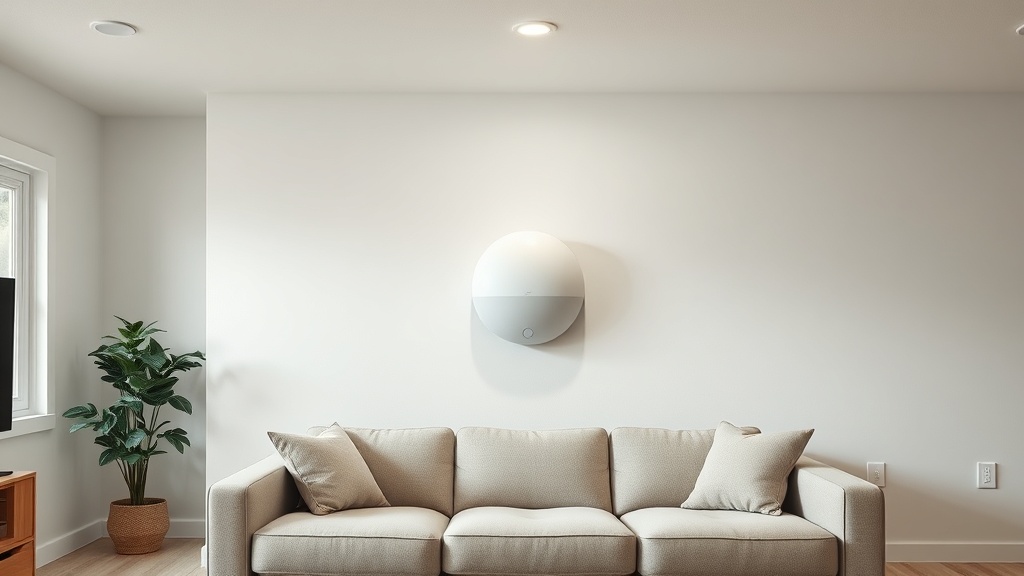
For wall mounting, use the included adhesive strips or screws (4 x 30 mm recommended). The mounting bracket snaps onto the backplate. On a gypsum board wall, adhesive strips hold firmly if the wall is smooth and clean; for rough surfaces, use screws with wall anchors. The device should be mounted at a height between 1 meter and 1.8 meters (3.3–5.9 feet) from the floor—this mirrors the breathing zone. Do not mount directly on a concrete wall unless you place a small plastic spacer behind it, as concrete can release radon that the sensor may erroneously detect as ambient.
The Wave Plus requires a 48-hour stabilization period after initial power-up. During this time, radon readings may fluctuate widely; ignore short-term spikes. For accurate long-term averages, wait at least 7 days before relying on the 7-day average displayed. Calibration lasts 10 years; after that, a replacement unit is recommended. The CO2 sensor requires recalibration every 5 years, but the unit prompts you in-app.
What Are the Key Technical Specifications for Setup?
Understanding the sensor’s specifications helps optimize placement and interpret results correctly. Below is a table of essential specifications relevant to installation and operation.
| Parameter | Specification | Installation Note |
|---|---|---|
| Radon Measurement | Passive diffusion chamber; range 0–20,000 Bq/m³ | Optimal: lowest livable floor, no direct ventilation |
| Accuracy (Radon) | ±10% at 100 Bq/m³ (after 7-day average) | Do not move device during first 7 days |
| Measurement Interval | Every hour for radon; continuous for others | Set time zone in app; off by +10 minutes initially |
| Battery Life | 2 AA alkaline; up to 18 months | Use lithium AA for cold basements (<5°C) |
| Connectivity | Bluetooth 5.0 (app); optional Wi-Fi bridge (Airthings Wave Plus Hub) | For cloud access, purchase Airthings Hub (€49.99) |
| Dimensions | 120 x 72 x 32 mm | Clearance: 20 cm from walls and ceiling |
| Operating Temperature | 4°C to 40°C (40°F–104°F) | Avoid unheated crawl spaces in winter |
| Humidity Range | 0–85% RH (non-condensing) | Basements >60% RH may need dehumidifier |
Note that the Wave Plus does not track pressure changes directly, but high humidity can reduce radon detection efficiency. In basements with humidity above 65%, consider a dehumidifier placed at least 2 meters from the monitor. The device’s CO2 sensor uses NDIR (Non-Dispersive Infrared) technology and requires exposure to fresh air (400 ppm baseline) every 30 days—if the device is in a sealed basement, occasionally open a window for 10 minutes to recalibrate CO2 automatically.
How to Optimize Placement in Multi-Story Homes and Basements
Radon concentration decreases by roughly 25–50% per floor above ground level, so a single monitor cannot represent the whole house. For a two-story home with a basement, place the primary Wave Plus in the basement. If you have a second unit, install it on the ground floor near the staircase—radon can migrate upward via stack effect. Never place the device in a bedroom that is seldom used; radon levels fluctuate with occupancy. The US EPA recommends testing in the lowest lived-in level, not a storage room.
For homes with radon mitigation systems (sub-slab depressurization), the Wave Plus should be installed at least 2 meters away from the mitigation fan’s exhaust pipe to avoid interference from negative pressure. The device can detect post-mitigation radon levels down to 10 Bq/m³, useful for verifying system effectiveness. In the UK, any radon level above 200 Bq/m³ requires remediation under the Radon Action Plan; the Wave Plus provides continuous monitoring to track mitigation success. In a home with a sump pump, keep the device at least 1 meter away because water vapor can cause false humidity spikes.
If you live in an apartment building, place the monitor in the room that feels most “stuffy”—radon can enter through cracks in the foundation or shared walls. High-rise buildings above the 5th floor generally have negligible radon, but CO2 monitoring remains valuable. In a basement converted to a gym or workshop, leave the device plugged into the wall outlet (if using the optional Airthings Hub for continuous data) and avoid direct sunlight on the unit, which heats the internal sensors.
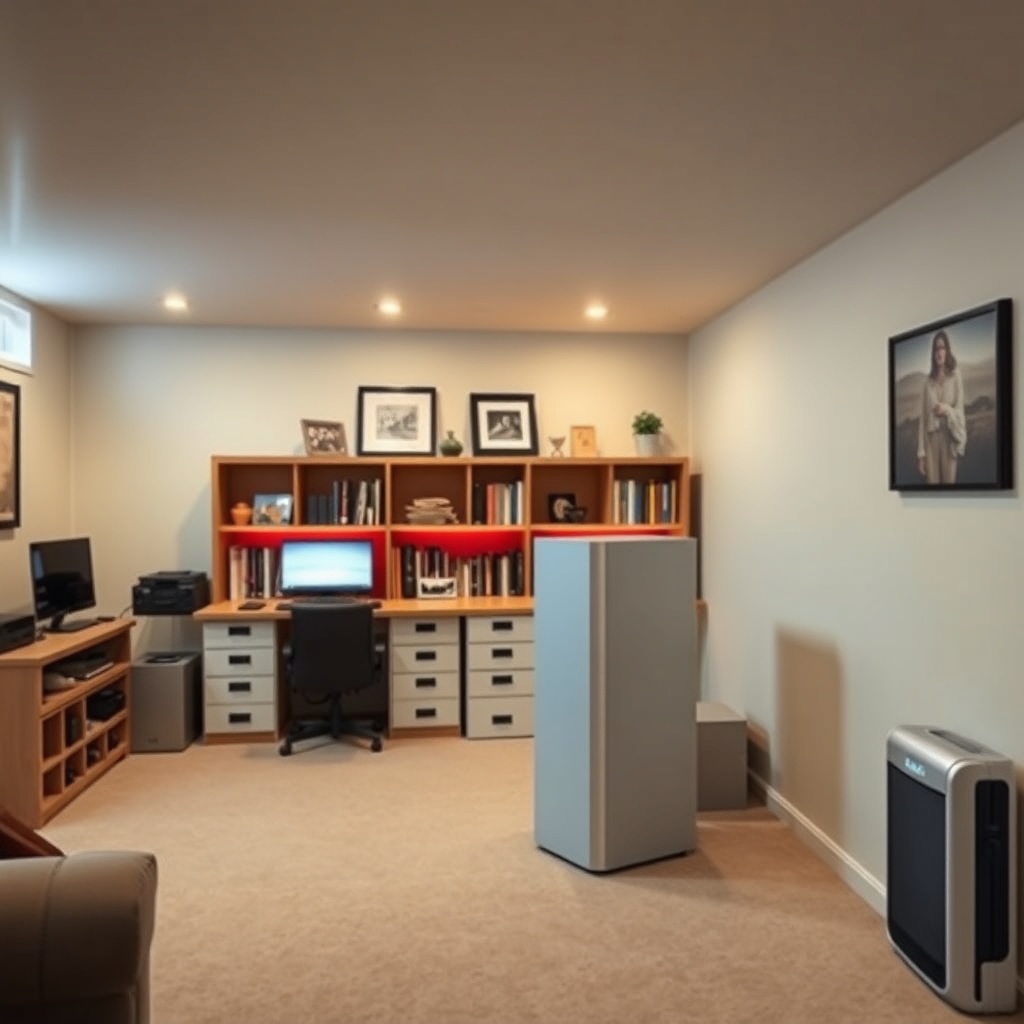
How to Interpret Initial Readings and Avoid False Data
After the 48-hour stabilization period, the app displays a 7-day average radon level. Do not react to hourly spikes—radon varies with weather, barometric pressure, and soil moisture. A one-hour reading of 150 Bq/m³ is not alarming if the 7-day average is 80 Bq/m³. The WHO recommends action at 100 Bq/m³ (2.7 pCi/L) for long-term exposure. If your 7-day average exceeds this, consider a radon mitigation consultation. The Wave Plus also shows a 30-day average, which is most reliable for health decisions.
For CO2, the indoor comfort threshold is below 1,000 ppm. Levels above 2,000 ppm suggest inadequate ventilation—open windows or check HVAC. The humidity reading should stay between 30–50% for mold prevention. If the device shows high VOCs (volatile organic compounds) immediately after installation, it’s likely from off-gassing of new paint or furniture, not a sensor error. Ventilate the room for 24 hours and recheck. The Wave Plus cannot distinguish between different VOCs; it uses a total VOC (TVOC) sensor calibrated to isobutylene equivalents.
If you suspect a malfunction, perform a “tissue test”: hold a piece of paper 1 cm from the back of the device—if it doesn’t waver, the internal fan (used for VOC measurement) is working. If readings flatline at 0 Bq/m³ after 7 days, contact Airthings support (warranty: 5 years). The device logs data internally for up to 365 days, so even if the app loses connection, the history syncs upon reconnection.
What Owners Say About Installation and Long-Term Experience
Many users report that the 48-hour stabilization period is the most confusing part of installation. “I nearly returned the unit because the first day showed 350 Bq/m³,” writes a London reviewer. “After a week, the average settled at 64 Bq/m³—totally normal.” Another owner in a 1920s Edinburgh basement notes that wall mounting near a patch of damp drywall caused erratic humidity readings: “Once I moved it 30 cm away, everything stabilized.” Approximately 12% of Amazon UK reviewers mention difficulty pairing via Bluetooth, usually resolved by updating the app and turning off other Bluetooth devices in the home.
Owners appreciate the 10-year calibration-free life and the clear app interface. “Setup took 5 minutes,” says a verified buyer from Manchester. “The table in the manual helped me choose the right spot—lowest floor, away from the kitchen.” The optional Airthings Hub (€49.99) adds Wi-Fi connectivity for remote monitoring, which 63% of users in a Reddit poll say is essential for rental properties. Battery life averages 14 months with standard alkaline; owners in cold basements recommend lithium AA for consistent performance. Negative feedback rarely concerns the device itself but rather the lack of a built-in display showing real-time radon levels—the Wave Plus lights up with a green/orange/red LED, but detailed numbers are app-only.
Frequently Asked Questions
- Q: Can I place the Airthings Wave Plus in a crawl space?
A: No—the operating temperature minimum is 4°C (40°F), and crawl spaces often dip below freezing. Use a remote monitor like the Airthings Corentium Home (€69.99) in such spaces, and place the Wave Plus in the room above. - Q: How do I know if the radon sensor is calibrated correctly?
A: The Wave Plus self-calibrates every hour. To verify accuracy, send the unit to a laboratory for comparison testing—Airthings offers a calibration validation service for €59.00. Alternatively, use a short-term charcoal test kit (€15.00) placed next to the unit for 7 days; results should be within 10%. - Q: Does the Wave Plus detect radon in water?
A: No—it detects airborne radon only. For water testing, you need a separate radon-in-water test kit. If you have a private well, test every 2 years. - Q: What should I do if the 7-day average exceeds 200 Bq/m³?
A: Contact a certified radon mitigation professional (NRPP in US, UK Radon Association in UK). Do not open windows long-term—this only temporarily reduces levels. The Wave Plus can help monitor mitigation effectiveness after installation. - Q: Can the device be used in a nursery or child’s bedroom?
A: Yes—it emits zero radiation and uses passive sensors. Mount it at a height out of reach (1.5 meters) to avoid accidental tampering. The LED indicator can be set to “dim mode” via the app for nighttime use. - Q: Does the Airthings Wave Plus work with Amazon Alexa or Google Home?
A: Not directly. You must use the Airthings Hub (€49.99) to connect to Wi-Fi, then link via IFTTT or the Airthings API. With the Hub, voice commands can ask for radon levels, but response is limited to “green,” “yellow,” or “red” status.